Welcome to the December release from Our Daily Bread Designs! The design team has been busy creating some fantastic things for this release, so sit back and enjoy!
Also, be sure to read following on how you could win a prize!!
Prize Information: Three randomly selected winners will each receive a $25 Gift Code to the ODBD Website just for commenting on the Design Team cards! You have until December 2, 2017 at 9:00 p.m. EST to leave your comments on the Designers Blogs for a chance to win! The Winners will be posted on the ODBD Blog on December 3rd so be sure to check back there to see if you won!
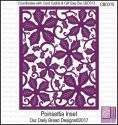
My first sample features a gift bag and card set, using the Card Caddy & Gift Bag dies, Poinsettia Inset die, Gift Bag Handles & Topper dies, Oval Stitched Rows dies, and Holly Leaves stamp set.
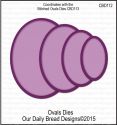
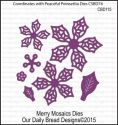
I also used Merry Mosaics and Ovals dies.

The Poinsettia Inset embosses so beautifully. It’s beautiful enough to stand alone too! I’ll be making a few of these for presents this Christmas!


In case you missed the pre-order special post, here is the sample I made.

My next sample uses the uplifting set, Praise The Lord and Stitched Oval Rows dies.
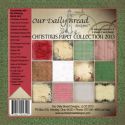
I also used Ovals dies and Christmas Collection 2013.


All the December information can be found
on the ODBD blog.
Don’t forget to to visit my sister sticks
and their awesome creations!
Sandee * Lisa * Angie * Cathy
Grace * Dawn (that’s me) * Chris * Diana
Helen * Kathy * Lori
Thanks for stopping by!
Dawn